
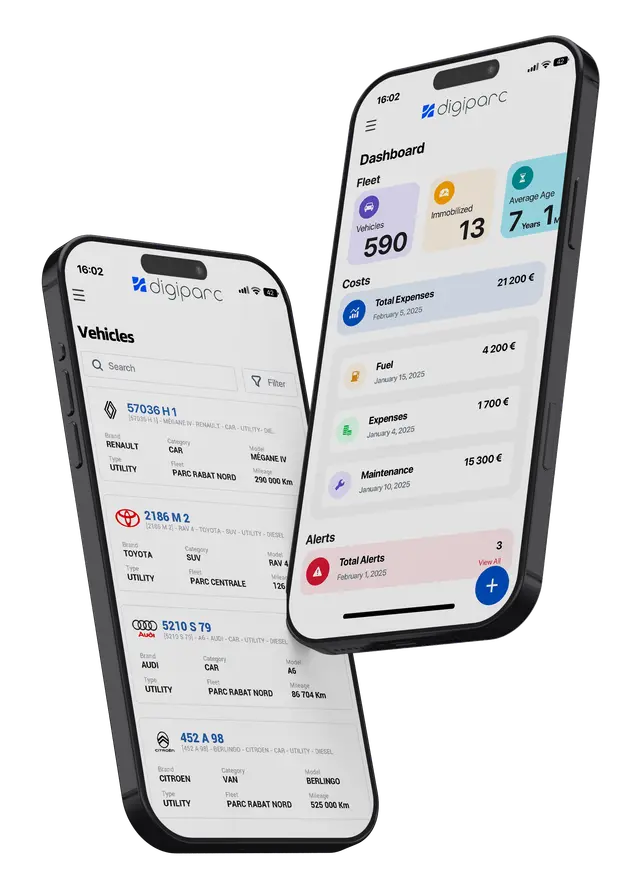
Module · Fleet
Hourly Index
Hourly Index
Digiparc's hourly index functionality allows users to track vehicle operating hours, which is essential for planning maintenance, monitoring usage and managing overall fleet performance. Here is a detailed explanation of this feature
Filtering Records
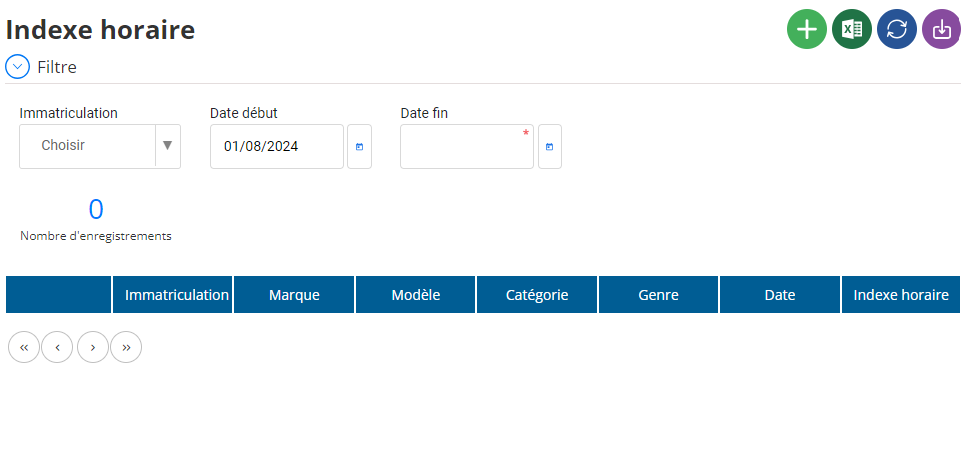
To consult the time indexes of your vehicles, use the filters available in the interface. These filters help you refine your search for specific periods or vehicles.
Filtering Options:

- Registration:Select the vehicle registration from the drop-down menu to see the hourly index data corresponding to that vehicle.
- Start Date:Saisissez la date à partir de laquelle vous souhaitez voir les enregistrements des heures de fonctionnement.
- Date de Fin :Définissez une date limite pour la consultation des enregistrements.
Astuce :Ces filtres permettent de mieux cibler les informations sur les périodes de fonctionnement des véhicules. Par exemple, si vous avez besoin de suivre les index horaires pour une période de maintenance, vous pouvez facilement isoler ces données à l'aide des filtres.
Ajouter un Indexe Horaire
l'ajout d'un index horaire permet de suivre les heures de fonctionnement d'un véhicule, ce qui est crucial pour la planification de la maintenance préventive et le suivi de l'utilisation de la flotte. Voici comment ajouter un nouvel index horaire dans le système.
Accéder à l'Interface d'Ajout
- Étape 1 :From the main time index interface, click the green button with the symbol "+" located at the top right of the screen. This will open a form for adding a new time index record.

2. Complete the Addition Form
Once in the add form, several fields must be completed to correctly record the time index:
-
Registration:Select the registration of the vehicle concerned from the drop-down menu. This field is mandatory because it identifies the vehicle to which the time index will be assigned.
-
Date :Indicate the date the time index was recorded. Use the date picker for precise entry. This allows the time index to be linked to a specific date, making maintenance intervals easier to manage.
-
Hourly Index:Enter the value of the vehicle's operating hours on the given date. This field is also mandatory because it is the main information to track.
Save Time Index

-
Step 1:After filling in all the mandatory fields (and optional, if necessary), click on the button "Save" located at the bottom of the form.
-
Step 2:Once saved, the new time index will appear in the list of recordings. You can then consult it or modify it if necessary.
Navigation
When multiple records are present, use the pagination buttons at the bottom left of the table to navigate between pages. This is especially useful if you have a large fleet or are looking at data over a long period of time.
Action Buttons
The action buttons located at the top right of the screen give you additional options for managing time indexes efficiently:

- Add:Click the "+" button to add a new time index record. This is useful when you want to manually record a vehicle's operating hours.
- Export to Excel:Use this feature to export the displayed data to Excel format, which is useful for further analysis or external reporting.
- Refresh:Click the refresh icon to update the displayed data. This is useful when new records are added or modified.
- Import:If you have time index records stored in a file, you can import them using this feature.
Example of Consultation
Example of Consultation
Let's say you want to view the time indexes for a vehicle for a specific period, for example, August 1, 2024 to August 10, 2024:
- Select the vehicle registration from the drop-down menu.
- Enter “08/01/2024” as the start date.
- Enter “08/10/2024” as the end date.
- Click "Search" to view the records.
Note :The relevant results will appear in the table below, showing the vehicle's hourly indexes for that specific period.