Module · HR
Import Absences
Import Absences
Importing absences offers a quick and efficient solution for integrating mass information into the absence management system. Using this method, HR managers can load a large volume of data using a pre-formatted file, significantly simplifying the process of updating and centralizing information.
Step 1: Download and prepare the template file
Before you get started, it is essential to download and complete a template file designed to make this task easier. This file contains predefined columns that must be respected to ensure smooth import.
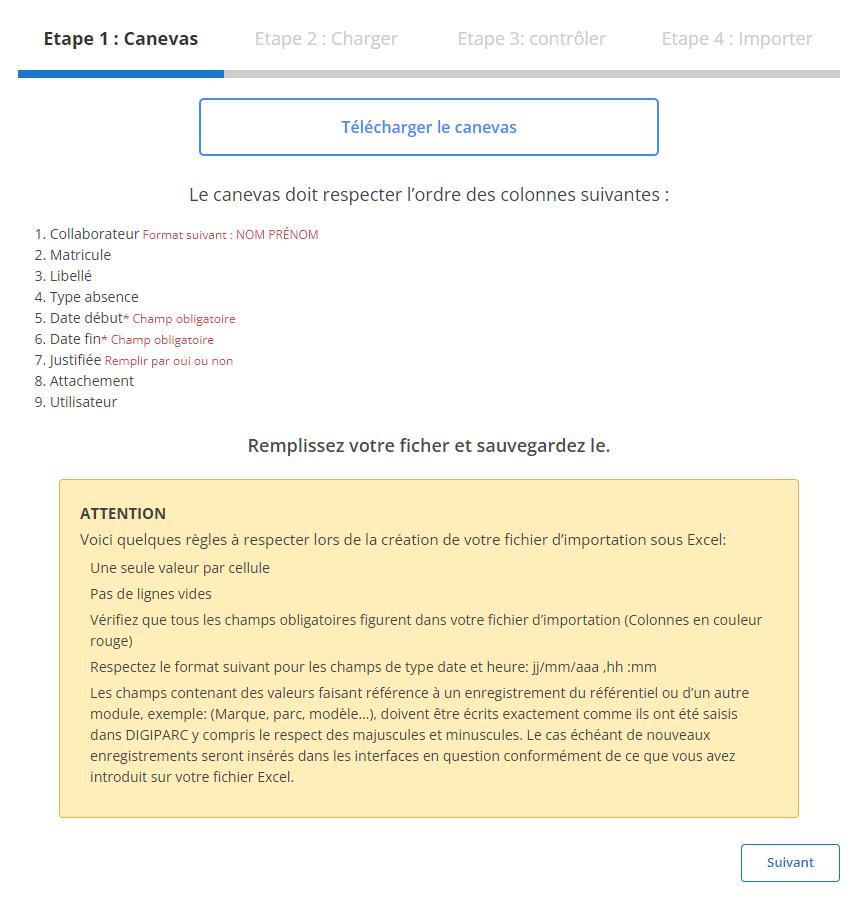
The template file is accessible through the user interface. It contains essential columns for import, such as:
- Collaborator (required): Expected formatNAME FIRST NAME.
- Start date (required): Must be entered in the formatdd/mm/yyyy.
- Date fin (obligatoire): Doit être renseigné au formatjj/mm/aaaa.
- Justifiée (obligatoire): Indiquez "Oui" ou "Non" pour spécifier si l’absence est justifiée.
Préparez votre fichier :
- Respectez l'ordre des colonnes :Chaque colonne correspond à une donnée spécifique. Les colonnes doivent être remplies correctement et dans l’ordre.
- Attention aux formats et valeurs :
- Une seule valeur par cellule est acceptée.
- Les dates doivent respecter le format demandé.
- Enter “Yes” or “No” in the “Justified” column.
- Check the contents:Make sure all lines contain valid information and avoid blank lines in the file.
Step 2: Load the absences file
Once the file is prepared, move on to the next step: loading the data into the system.
- Click the button“Browse”to locate the file on your computer, then select it.
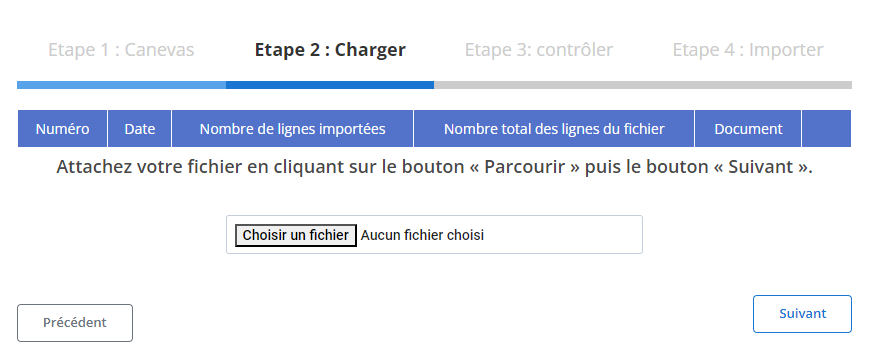
Start loading:
- Click the button"Suivant"to start the process. The system will analyze the data and prepare a summary for validation.
Data summary:
A table is displayed, showing:
- The total number of lines in the file.
- The number of lines ready for import (without errors).
This summary allows you to quickly check that the content of the file is compliant before proceeding.
Step 3: Verifying the imported data
Once the file is loaded, a detailed table is displayed in the interface. You must review and validate the information.
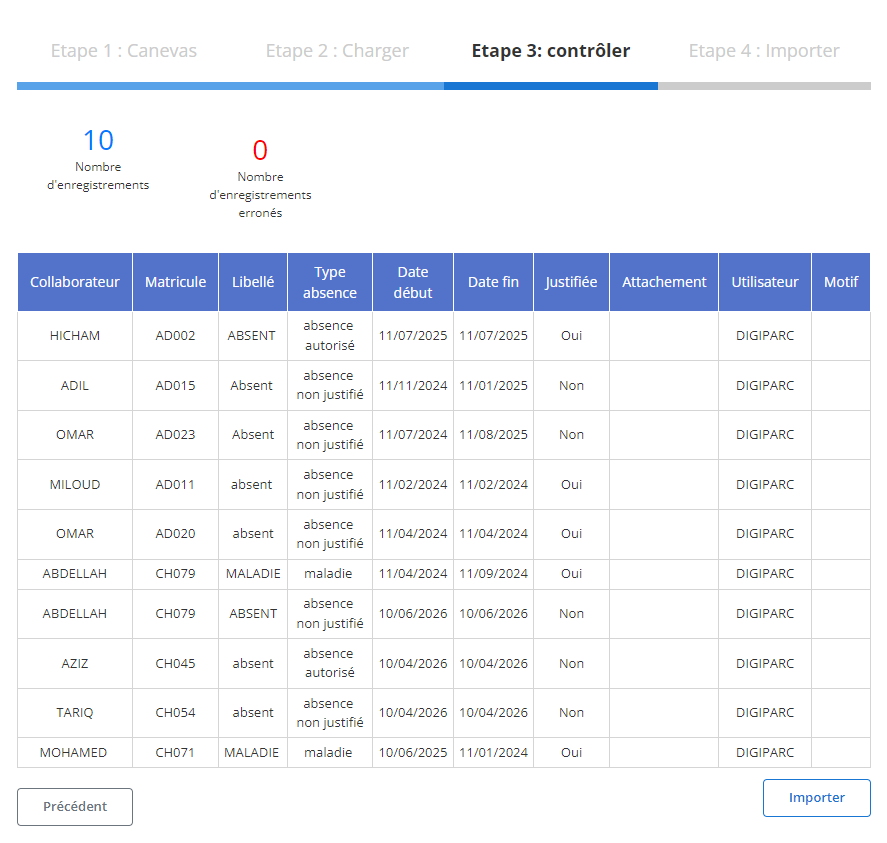
The system identifies potential errors and highlights them. For example :
- Missing mandatory fields (Collaborator, Start date, End date, or Justified).
- Incorrect formats (for example, a date in the wrong format or an incorrectly entered "Justified" field).
Validation of correct data:
Valid rows are marked ready for import. Check information such as:
- Collaborator: First and last name of the employee.
- Dates (start and end): Check consistency.
- Type of absence and wording: Make sure they match the information you want.
- Justification: Confirm whether the absence is marked as "Yes" or "No".
Step 4: Finalize the import of absences
Once the data has been validated, you can proceed to its final integration into the system.
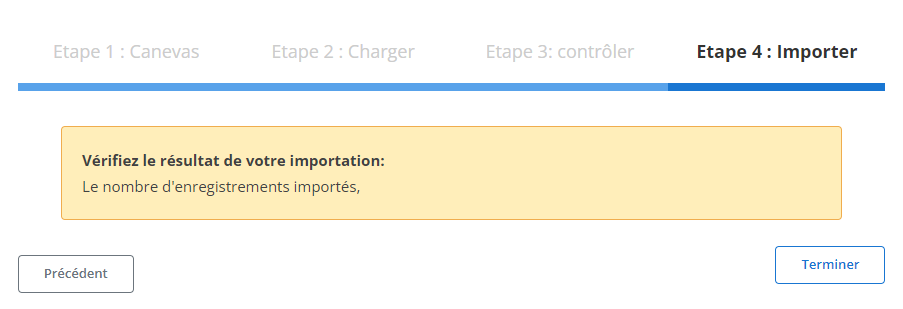
Finalize the import:
- Click the button"Import"to validate and add absences to the database.
Import confirmation:
- A confirmation message appears, indicating that the import was successful and all valid absences have been recorded.
This structured process for importing absences allows HR managers to save time and minimize the risk of errors when adding absences in bulk. Thanks to this method, information is integrated precisely and coherently, thus guaranteeing effective monitoring and optimized management of absences within the company. This helps maintain total transparency in tracking leave and absences, while facilitating human resources analysis and planning.